The application could not be installed: INSTALL_PARSE_FAILED_INCONSISTENT_CERTIFICATES
Installation failed due to: ‘null’
Session ‘app’: Installation did not succeed. The application could not be installed: INSTALL_PARSE_FAILED_INCONSISTENT_CERTIFICATES Retry
When these errors are come?
This error shows when you run your app on your android device.
Your android also Gradle build successfully but the app is not running.
It means Gradle build successful but no apk install on android device.
You try again but the same error appears again and again.
How to solve this type of Android Studio error?
This is a common error in android studio but more logical to solve.
To solve this type of error, there are different methods.
First of you see an error in the popup box. What error exactly.
Here, given different methods to resolve this type of error.
Method 1:
First of go to the device emulator as shown below image.
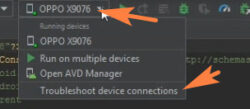
Click on “Trouble device connection”.
Rescan your device.

Click on “Next”
Restart the ADB(Android Debug Bridge)
Just click on “Restart ADB server“
And click on “finish”
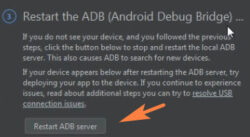
If any issues are not found after that all are ok then try the second method.
Method 2:
Click on the “Build” option in the android top row of the menu.
Click on “Rebuild Project”.
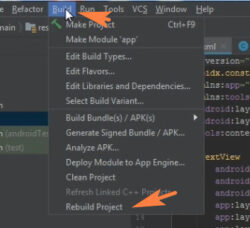
Wait some time.
After completing “Build Project”, run your application.
If the again same error appears.

Try another method
Method 3:
Again go to the “Build” option in the top row of the menu.
Click on “Clean Project”
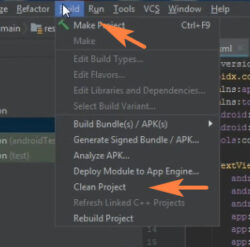
Wait until finish Gradle Build. After, Run your application.
If the same issue again displays then try another method.
Method 4:
Click on “file” given in ‘top left corner.
Click on “invalidate the cache and Restart…”
Now, a popup new window appears.
Click on “just Restart”
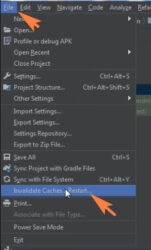
Now, run your application.
If this does not work try another method
Method 5:
Go to “file” top left corner.
Click on “settings”(shortcut Ctrl+Alt+S for windows)
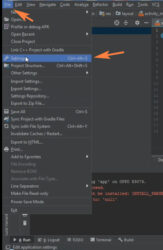
A new popup window is displayed.
Click on “Appearance & Behavior -> System settings -> HTTP Proxy”
Set “Auto-detect proxy settings.
Click on “ok”
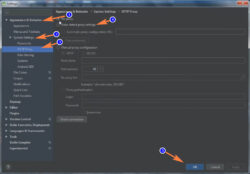
Run your application
If the same issue is found try another method.
Method 6:
Again go to the “file” menu in the top left corner of android studio.
Click on “Invalidate Cache/Restart…”
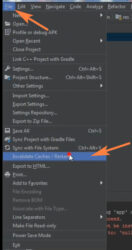
A new window appears.
Click on “Invalidate and Restart”

After, restarting android studio run your application.
Again same error fetches, try this method.
Method 7:
Still does not resolve the error try this method.
Again Click on “file”.
Click on “Close Project”.
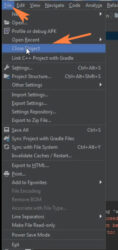
“Start a new android studio project”
Select “template”.
After then, click on “Next”.
Type your project “Name”.
The name must be unique mean not uses in the previous project.
After then, fill up all the regular information.
Click on “finish”
It takes time to “Gradle Build”.
After, Run your project.

“Successfully run”
How did you solve this issue?
If you don’t understand How did you resolve this issue.
In this error, the issue is your Application.
Same name application “is not able to override”.
Just rename your project and run maybe it works.
Otherwise, uninstall the same name package name on your device.
And restart android studio.
- Watch on YouTube video


