Hello again, friends!
In our previous tutorials, we walked you through the process of publishing app on the Google Play Store.
But what if you’ve got some awesome new features to add to your app?
Well, that’s where updating your app comes in! You might have noticed that when some apps have new features or bug fixes, they prompt you to update them. That’s because developers are always working to make their apps even better.
Today, we’re diving into how you can update your app and release those exciting new features step by step.
So, without further discuss, let’s get started on this journey.
How to Update android app in google play console?
Step 1: Update Your app Version
First things first, fire up your Android Studio and open the app that’s already uploaded to the Play Store.
Go ahead and open the “build.gradle” file for your app module. Here’s where you’ll make a couple of changes:
The version code and the version name.
For instance, bump up the version code and update the version name.
Once you’ve done that, click on the “Sync Now” button to make sure everything’s in sync.
After that, head over to “Tool” in the menu, click on “Generate Signing Bundle/APK,” and create that signing bundle.
If you’re not sure about generating the signing bundle, don’t worry—there are tutorials out there that walk you through the process in detail. Once you’ve got your updated bundle ready, it’s time to move on.
Step 2: Log into Your Google Play Console Account

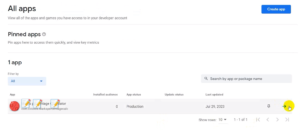
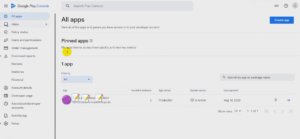
Now, log into your Google Play Console account. Find the app that you want to update and click on it. Once you’re in, navigate to the “Production” tab and hit the “Create New Release” button.
Step 3: Create Your Production Release
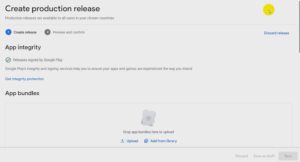
In the “Create Production Release” page, you’re going to upload that shiny new bundle you’ve just created. Remember, like in our app publishing steps, you need to provide release details and notes. Let your users know what’s new and improved!

After filling in the release notes, click on the “Next” button.
Now, take a deep breath—you’re almost there!
Step 4: Preview and Confirm
In this step, you’ll see a preview of what you’re about to release. Double-check everything to make sure it’s exactly how you want it.
You’ll also have the option to set the rollout percentage and choose the countries where the update will be available.
Once you’re satisfied, hit that “Save” button and proceed to the next step.
Step 5: Go to Publish Overview
You might be prompted to go to the Publish Overview page. You can click on it if you’re ready to roll, or you can choose “Not Now” if you want to hold off for a bit. If you do choose to proceed, your updated app will be in the review stage.

Step 6: Await the Update
Now, all that’s left to do is wait. In a few days, your app’s new update will be available for download. Your users will receive a notification to update, and they’ll be able to enjoy the new and improved version of your app.

And there you have it! Your app has successfully received a fresh update, and your users are in for a treat. Keep an eye on the update’s status, and remember that every update is a step toward making your app even better.
Happy updating!